Saturday, March 31, 2018

Cover plate die as a stamp

I recently purchased my first cover plate die from a Catherine Pooler release.  It's a beautiful stained glass die.  This cover plate die is pretty when used as intended, but I wanted to see if I could turn it into a stamp!  I've watched some You Tube videos on how crafters take their die cuts and make stamps out of them, and I thought, how hard can it be?!  So I tried out the technique.

First I used the cover plate die to cut white fun foam, instead of card stock.  After removing all the pieces from the cuts, I glued the fun foam to a piece of white card stock and backed it with a thin piece of chipboard to give it some stability.


I put some temporary adhesive on the back side of the chipboard so that I could adhere it to the door of my MISTI.  I then inked up my new "stamp" with Versamark ink and stamped it onto some new vellum from Catherine Pooler.  After stamping it a few times to be sure it was all good and inked, I used some white embossing powder and covered the vellum.  After heating up the embossing powder, I had the below...I was so excited that it worked as a stamp!


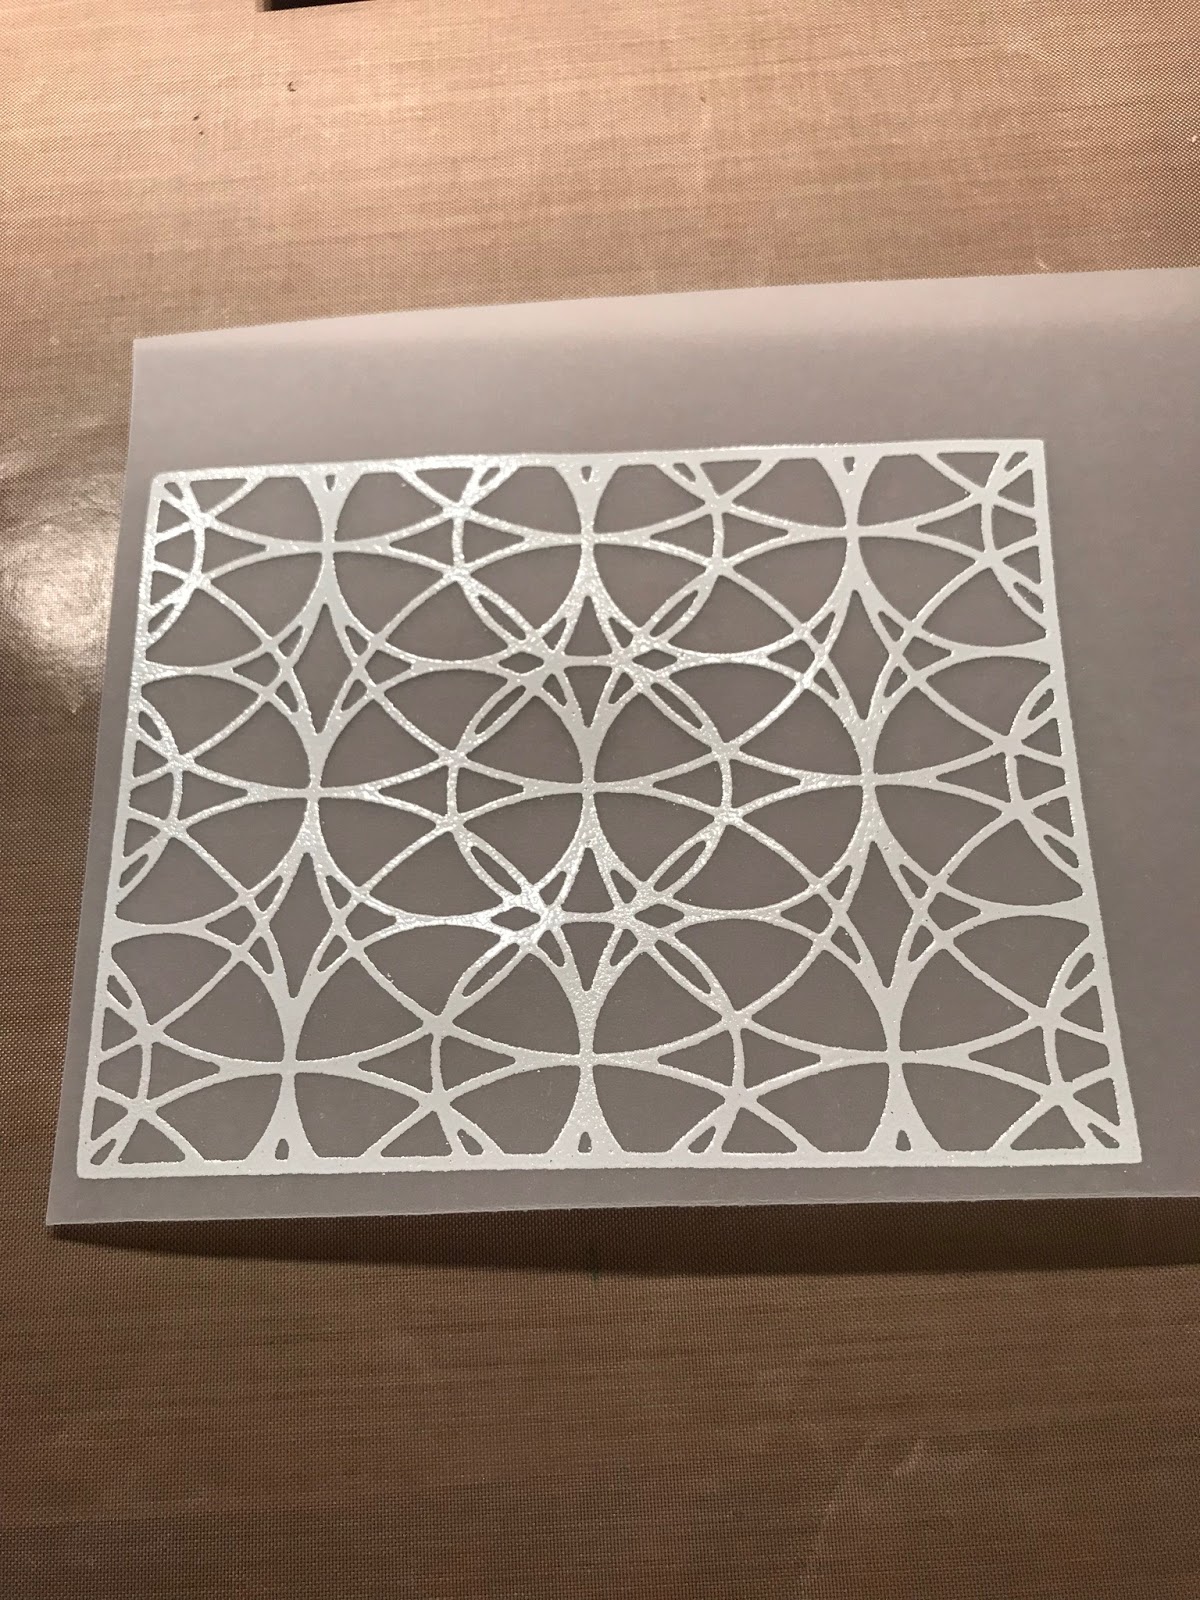
 I then took a rainbow of colors from my Zig Clean Color Real Brush Markers and started coloring the image from the BACK side.  This allowed me to go over the lines and not have to worry about it!  You can see the back side view is kind of messy looking.


Once I was finished coloring, I turned it over and cut it down to fit the front of a card panel.  I didn't want to add any sentiments to it as I didn't want to cover up any of the beautiful stained glass look of it.  The panel was a little time consuming, but it was a lot of fun trying a new technique by turning this cover plate die into a stamp.  And who doesn't like to do some coloring from time to time!?!


Friday, March 30, 2018

Thank you stencil card

In the latest Catherine Pooler release there was a stencil designed by Shawna Clingerman.  It was called the Square Dance Stencil.  It's pictured below in it's original form.

 
When I stared at this stencil for what seemed like forever and tried to decide how best to use it, my eyes were drawn to the patterns within the design.  Sometimes this is easy to do depending on the design.  Whether she knows it or not, my mother, who is a quilter, taught me to see patterns within intended designs.  So in THIS particular stencil, I envisioned a rainbow pattern.  I used Distress Oxide inks to sponge on the color as I meticulously masked off areas of the stencil so each color had its own distinct place.

I added a black die cut thanks, adhered it to a black panel and then to a white card base.  It's a 4 1/4" square card, smaller than the typical A2 size I normally make, but it packs a punch!  Enjoy!